As a professional Lifestyle, Maternity, and Boudoir photographer, one of the most common questions I get from clients is: “Are you going to edit my photos?” The short answer is yes, but the long answer is a bit more complex. To clear up any confusion, let’s dive into what ‘editing’ a photograph means and the different steps involved.
What does editing mean?
When photographers talk about editing, they mean making various adjustments and changes to the images taken during a shoot. However, the term ‘editing’ can mean different things to different people, sometimes leading to misunderstandings. Here’s a breakdown of the various aspects of editing:
1. Culling
Culling is the first step in the editing process. This involves reviewing all the photos taken during a shoot and selecting the best ones to keep. We look for images that are in focus, well-composed, and capture the moment perfectly. The aim is to narrow down the thousands of photos to a manageable number that we can present to you. This means eliminating blurry, poorly lit, or repetitive shots.
2. Correcting
Once we have a selection of the best photos, we move on to correcting them. This step involves making global adjustments to improve the overall look of the images. Corrections can include:
• Adjusting brightness and contrast: To make the image pop.
• Fixing the white balance: To ensure colours are accurate and natural.
• Tweaking saturation and exposure: To enhance the vibrancy and detail.
These adjustments make the photos look more polished and ready for your review.
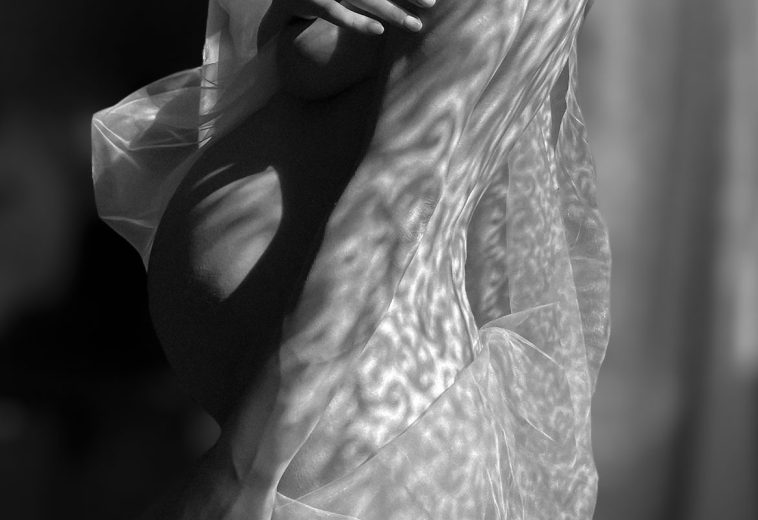
3. Retouching
Retouching is where the magic happens. This step involves making selective, detailed edits to individual photos. Retouching can include:
• Smoothing skin: To give a natural, flawless look without making the subject look plastic or fake.
• Removing blemishes and stray hairs: To enhance the subject’s appearance.
• Dodging and burning: To add depth and dimension by lightening and darkening specific areas.
• Teeth whitening and eye enhancement: To make features stand out more prominently.
Retouching is an artistic process that requires a keen eye and attention to detail to ensure each photo looks its best.
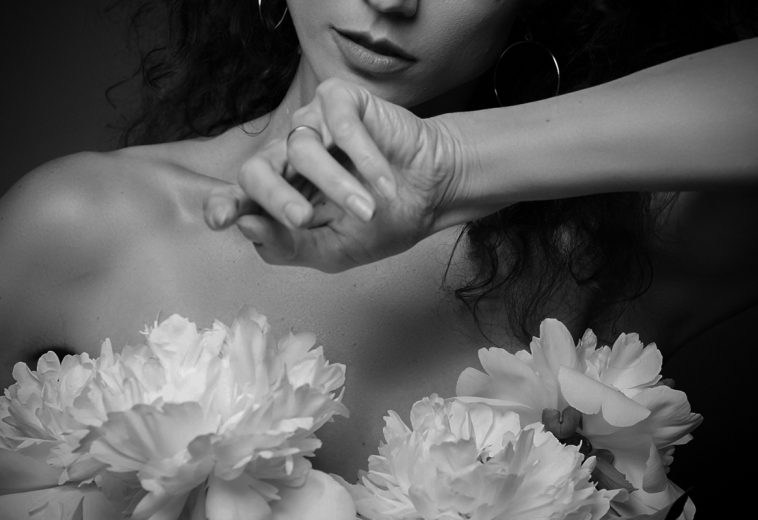
4. Color grading
Color grading is the final step and involves giving the image its unique, finished look. This can involve:
• Applying a specific colour tone: To create a mood or style, such as warm golden tones for a sunset look or cool blue tones for a calm feel.
• Converting to black and white: To create a timeless, classic appearance.
• Split toning: To add different colours to the highlights and shadows, creating a more dynamic and interesting image.
This step is about enhancing the emotional impact of the photo and ensuring it aligns with the desired aesthetic.
Why clear communication is key
As you can see, editing encompasses a range of processes, each with its own level of complexity and time commitment. It’s crucial to communicate clearly with your photographer about what you expect when you ask for your photos to be ‘edited.’ By understanding these different stages, we can ensure that we’re on the same page and avoid any potential misunderstandings.